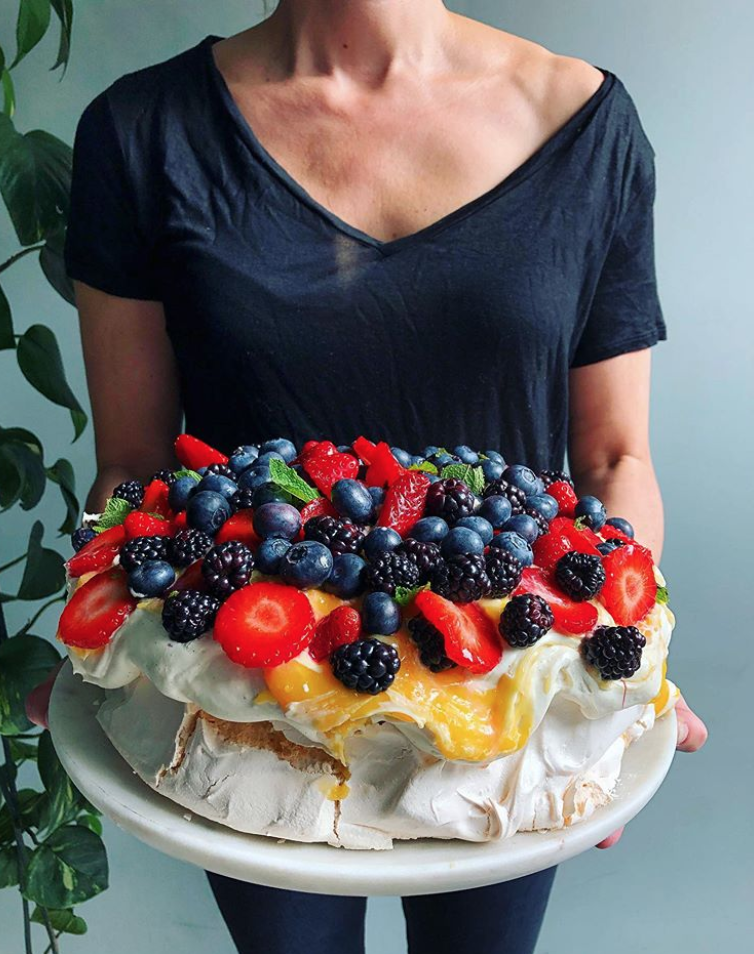
Mega Berry Pavlova with Lemon Curd & Fresh Mint
Sommer Pyne
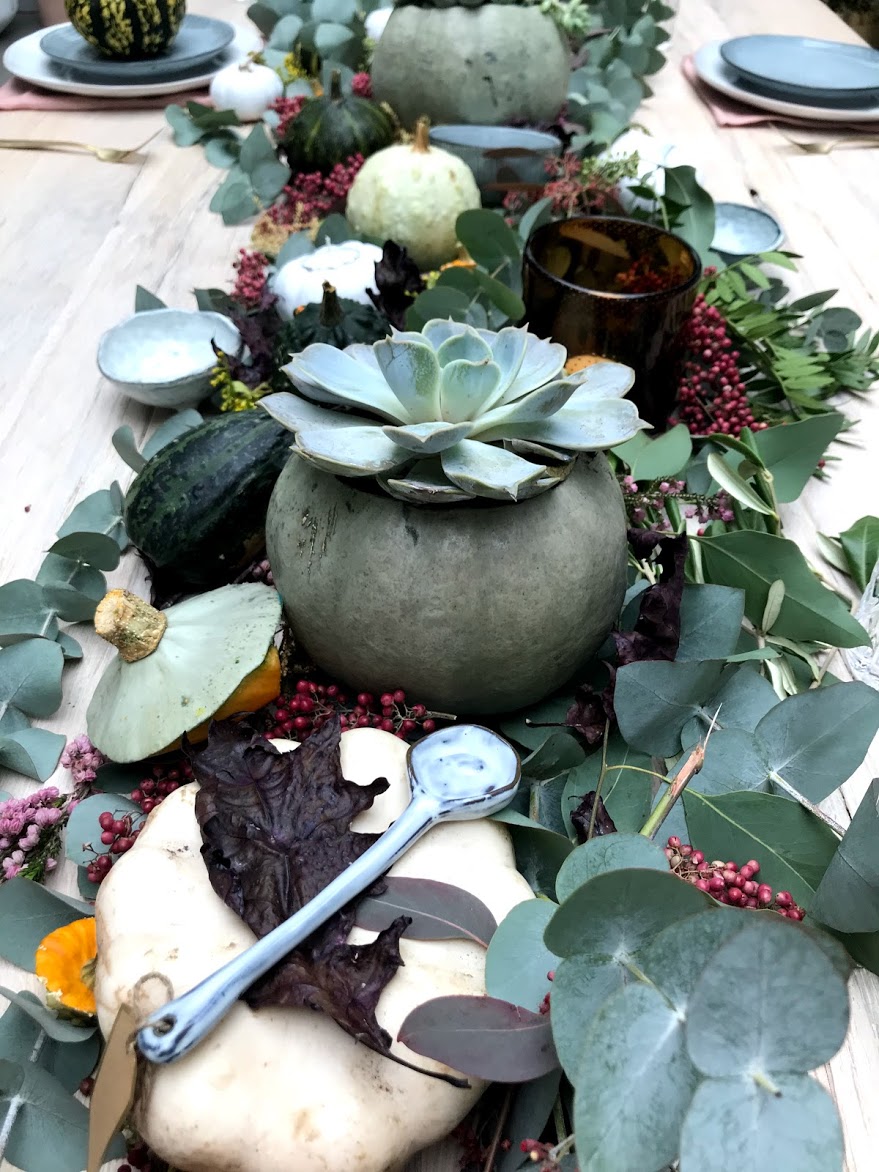
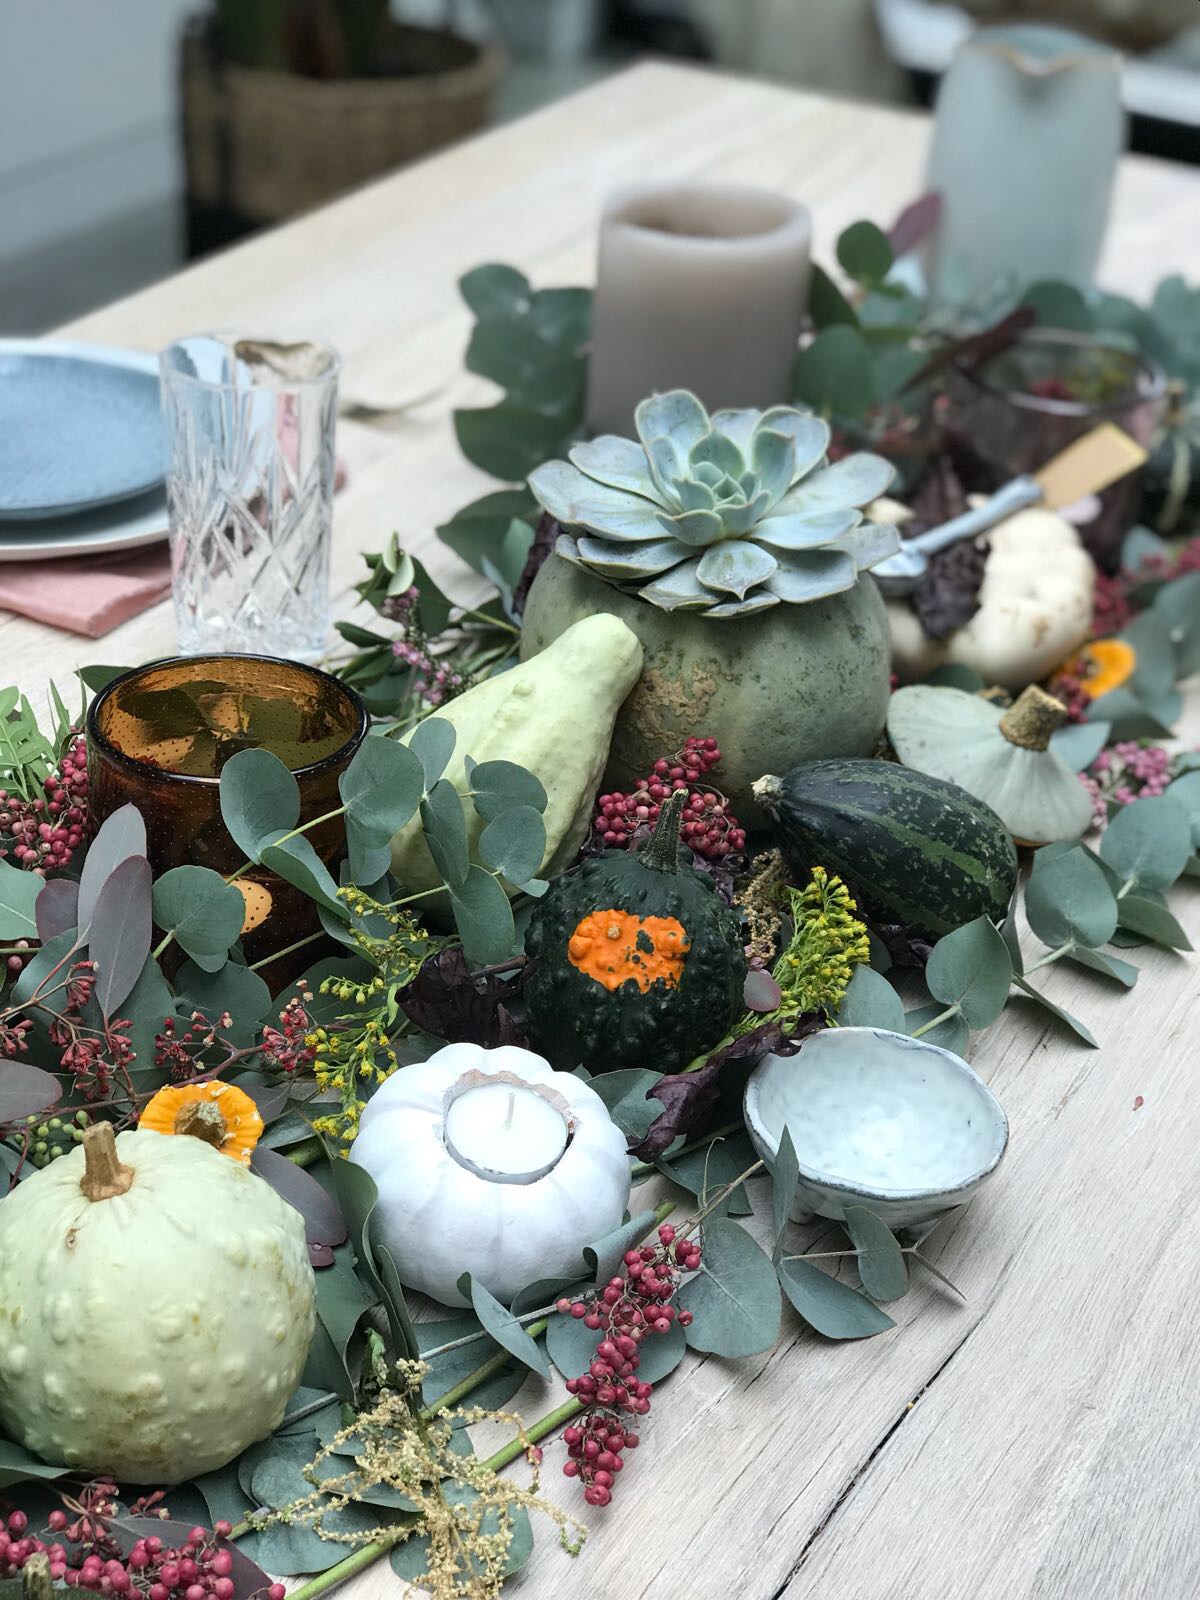
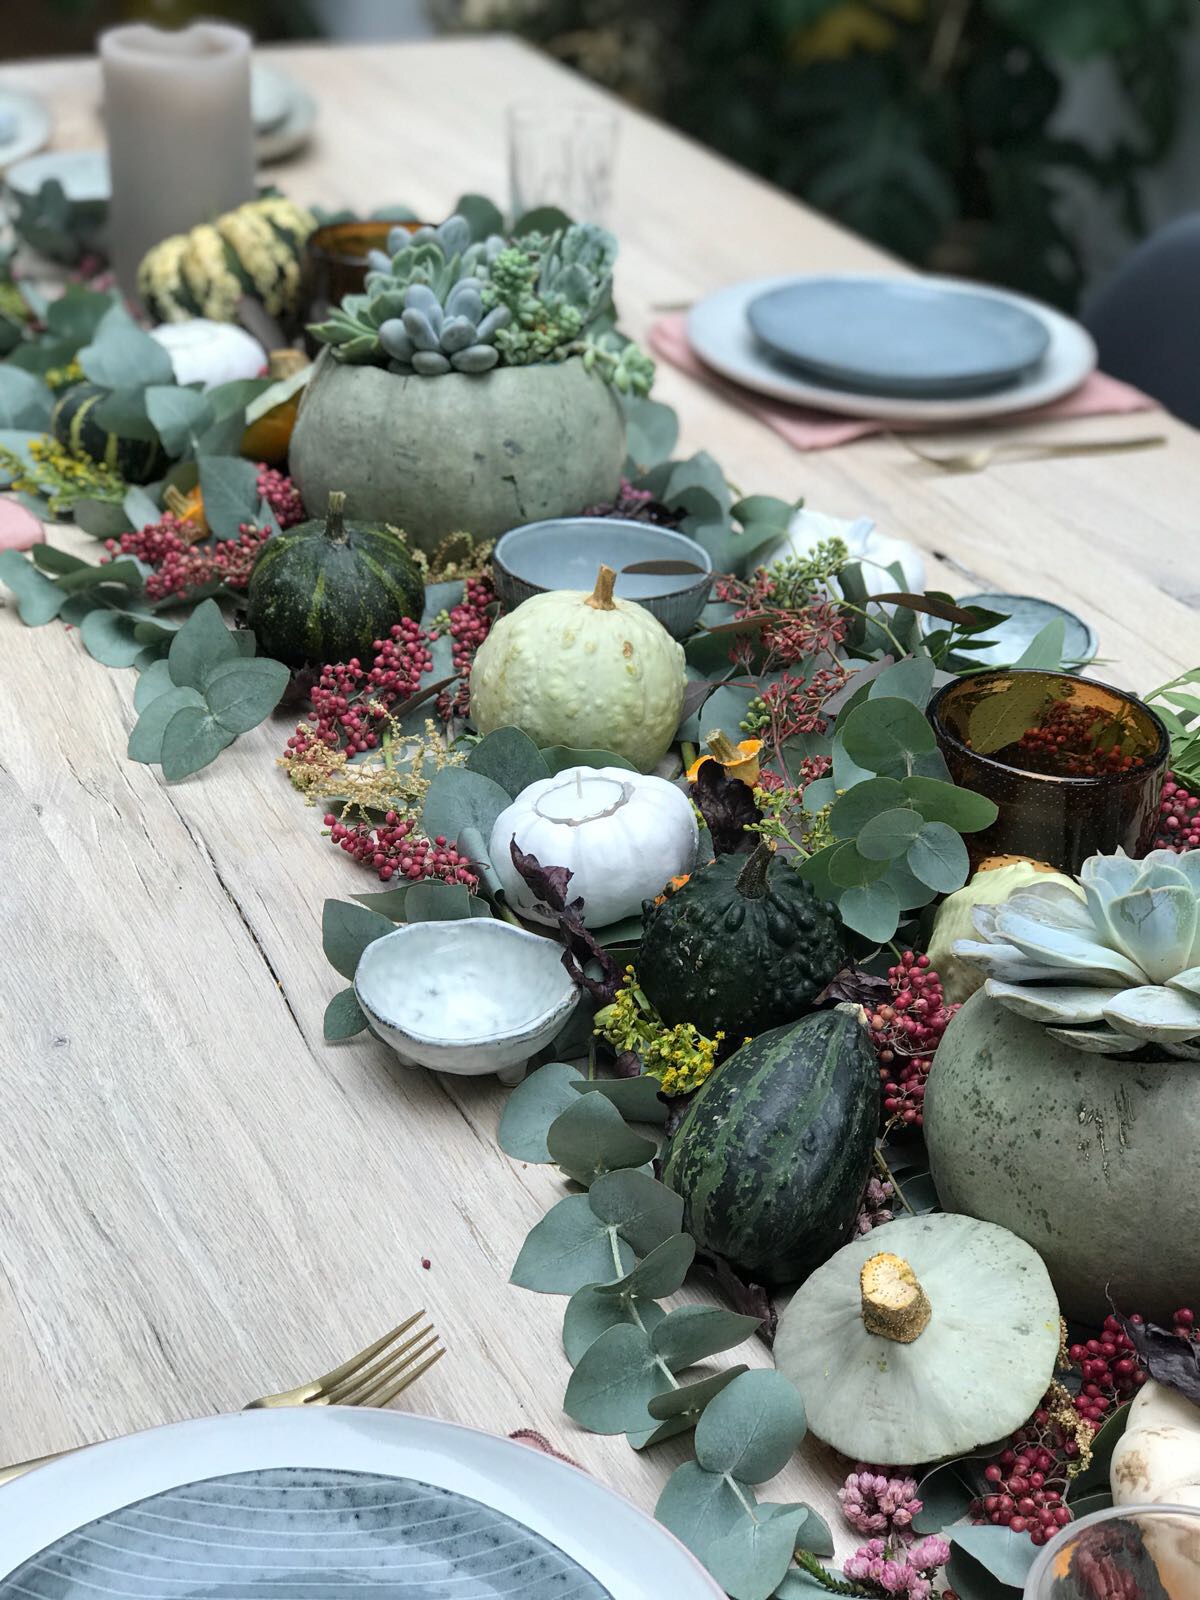
I’ve always been a huge fan of pavlova but haven’t had much success in making my own until now thanks to Ashley from Gather and Feast. You may have seen the beautiful berry Pavlova I made the other week on instagram, which is proving to be very popular. So many people asked for the recipe so I wanted to share it with you. I wish I could claim this beauty as my own but I borrowed it from @gatherandfeast. The great thing about this recipe is that instead of chucking away the yolks you use them to make the most delicious lemon curd. This is the ultimate summer desert and not only looks gorgeous but tastes delicious. Make it the night before and dress it with the toppings just before you’re ready to serve. Check out Ashley’s blog for more yummy aussie recipes. Enjoy! x
House Curious
Ingredients:
Meringue
300ml egg whites (roughly 8 large eggs)
2 ½ cups castor sugar
1 tsp lemon juice, apple cider vinegar or white vinegar
Lemon / Passionfruit Curd
8 egg yolks
1 cup raw castor sugar
4 lemons, zest & juice (250ml) or 250ml of passionfruit pulp
170g unsalted butter (or coconut oil for dairy free option)
Vanilla Cream (or for a DF option a thick vanilla coconut yoghurt)
600ml pure cream
250g mascarpone, thick vanilla custard or thick greek yoghurt
1 tbs vanilla extract, paste or powder
Toppings - for Mega Berry Pavlova
250g fresh strawberries, sliced
250g fresh blueberries
250g fresh raspberries
250g fresh blackberries
1 small bunch fresh mint
Freeze dried strawberries or raspberries (optional)
Method:
Meringue
Pre-heat oven to 150 degrees Celsius (300 Fahrenheit).
Whip the egg whites on medium speed in a large clean bowl using a stand mixer or hand beaters.
Whip the egg whites until soft peaks form (2-3 minutes).
Gradually add the sugar to the egg whites (whipping the whole time) by adding 1 tablespoon at a time, waiting 20-30 seconds between each addition.
Once all the sugar is incorporated whip the mixture on medium speed for 6 minutes.
Next, add the lemon juice or vinegar and beat for a further 3-4 minutes.
The final egg white mixture should be really thick and glossy. When you rub the mixture between your fingers there shouldn't be any grit from the sugar. If there is, whip the mixture for a few more minutes to ensure all of the sugar has dissolved.
Line a large baking tray with baking paper.
Scoop the meringue into a large mound in the centre of the tray.
Shape the meringue into a round shape on the tray and spread out lightly with a spatula.
Using the spatula around the outside of the meringue, create sweeping up motions to create a rounded and tall edge.
Place the tray into the preheated oven and lower the temperature to 110 degrees Celsius (230 Fahrenheit).
Bake for 2 hours and 30 minutes.
Turn the oven off and leave the meringue in the oven with the door closed to completely cool. This step is very important, don't be tempted to remove the meringue any earlier. Leaving it overnight is a great way to ensure its completely cooled. Otherwise, 4-5 hours should be enough.
Remove the meringue from the oven once its cool.
Curd
While the meringue is cooking, let’s make the curd. This is a great way to use the egg yolks that may otherwise go to waste!
In a medium saucepan whisk together the egg yolks, sugar, lemon zest and lemon juice (or passion fruit pulp).
Stir continuously over medium heat until the mixture becomes thick.
Add the chopped butter (or coconut oil) and stir to combine and until it’s all melted and well incorporated.
Set aside to cool.
To Assemble
Whip the cream and vanilla until stiff peaks form - whip on a low to medium speed or by hand, ensuring the cream stays smooth and doesn’t curdle.
Fold the mascarpone (or vanilla custard or thick yoghurt) into the whipped cream.
Dollop the vanilla cream over the meringue.
Top with the fresh berries, curd, mint and crushed freeze-dried berries (optional) -OR- the fresh mango, passionfruit curd, fresh passion fruit, coconut and lime zest.

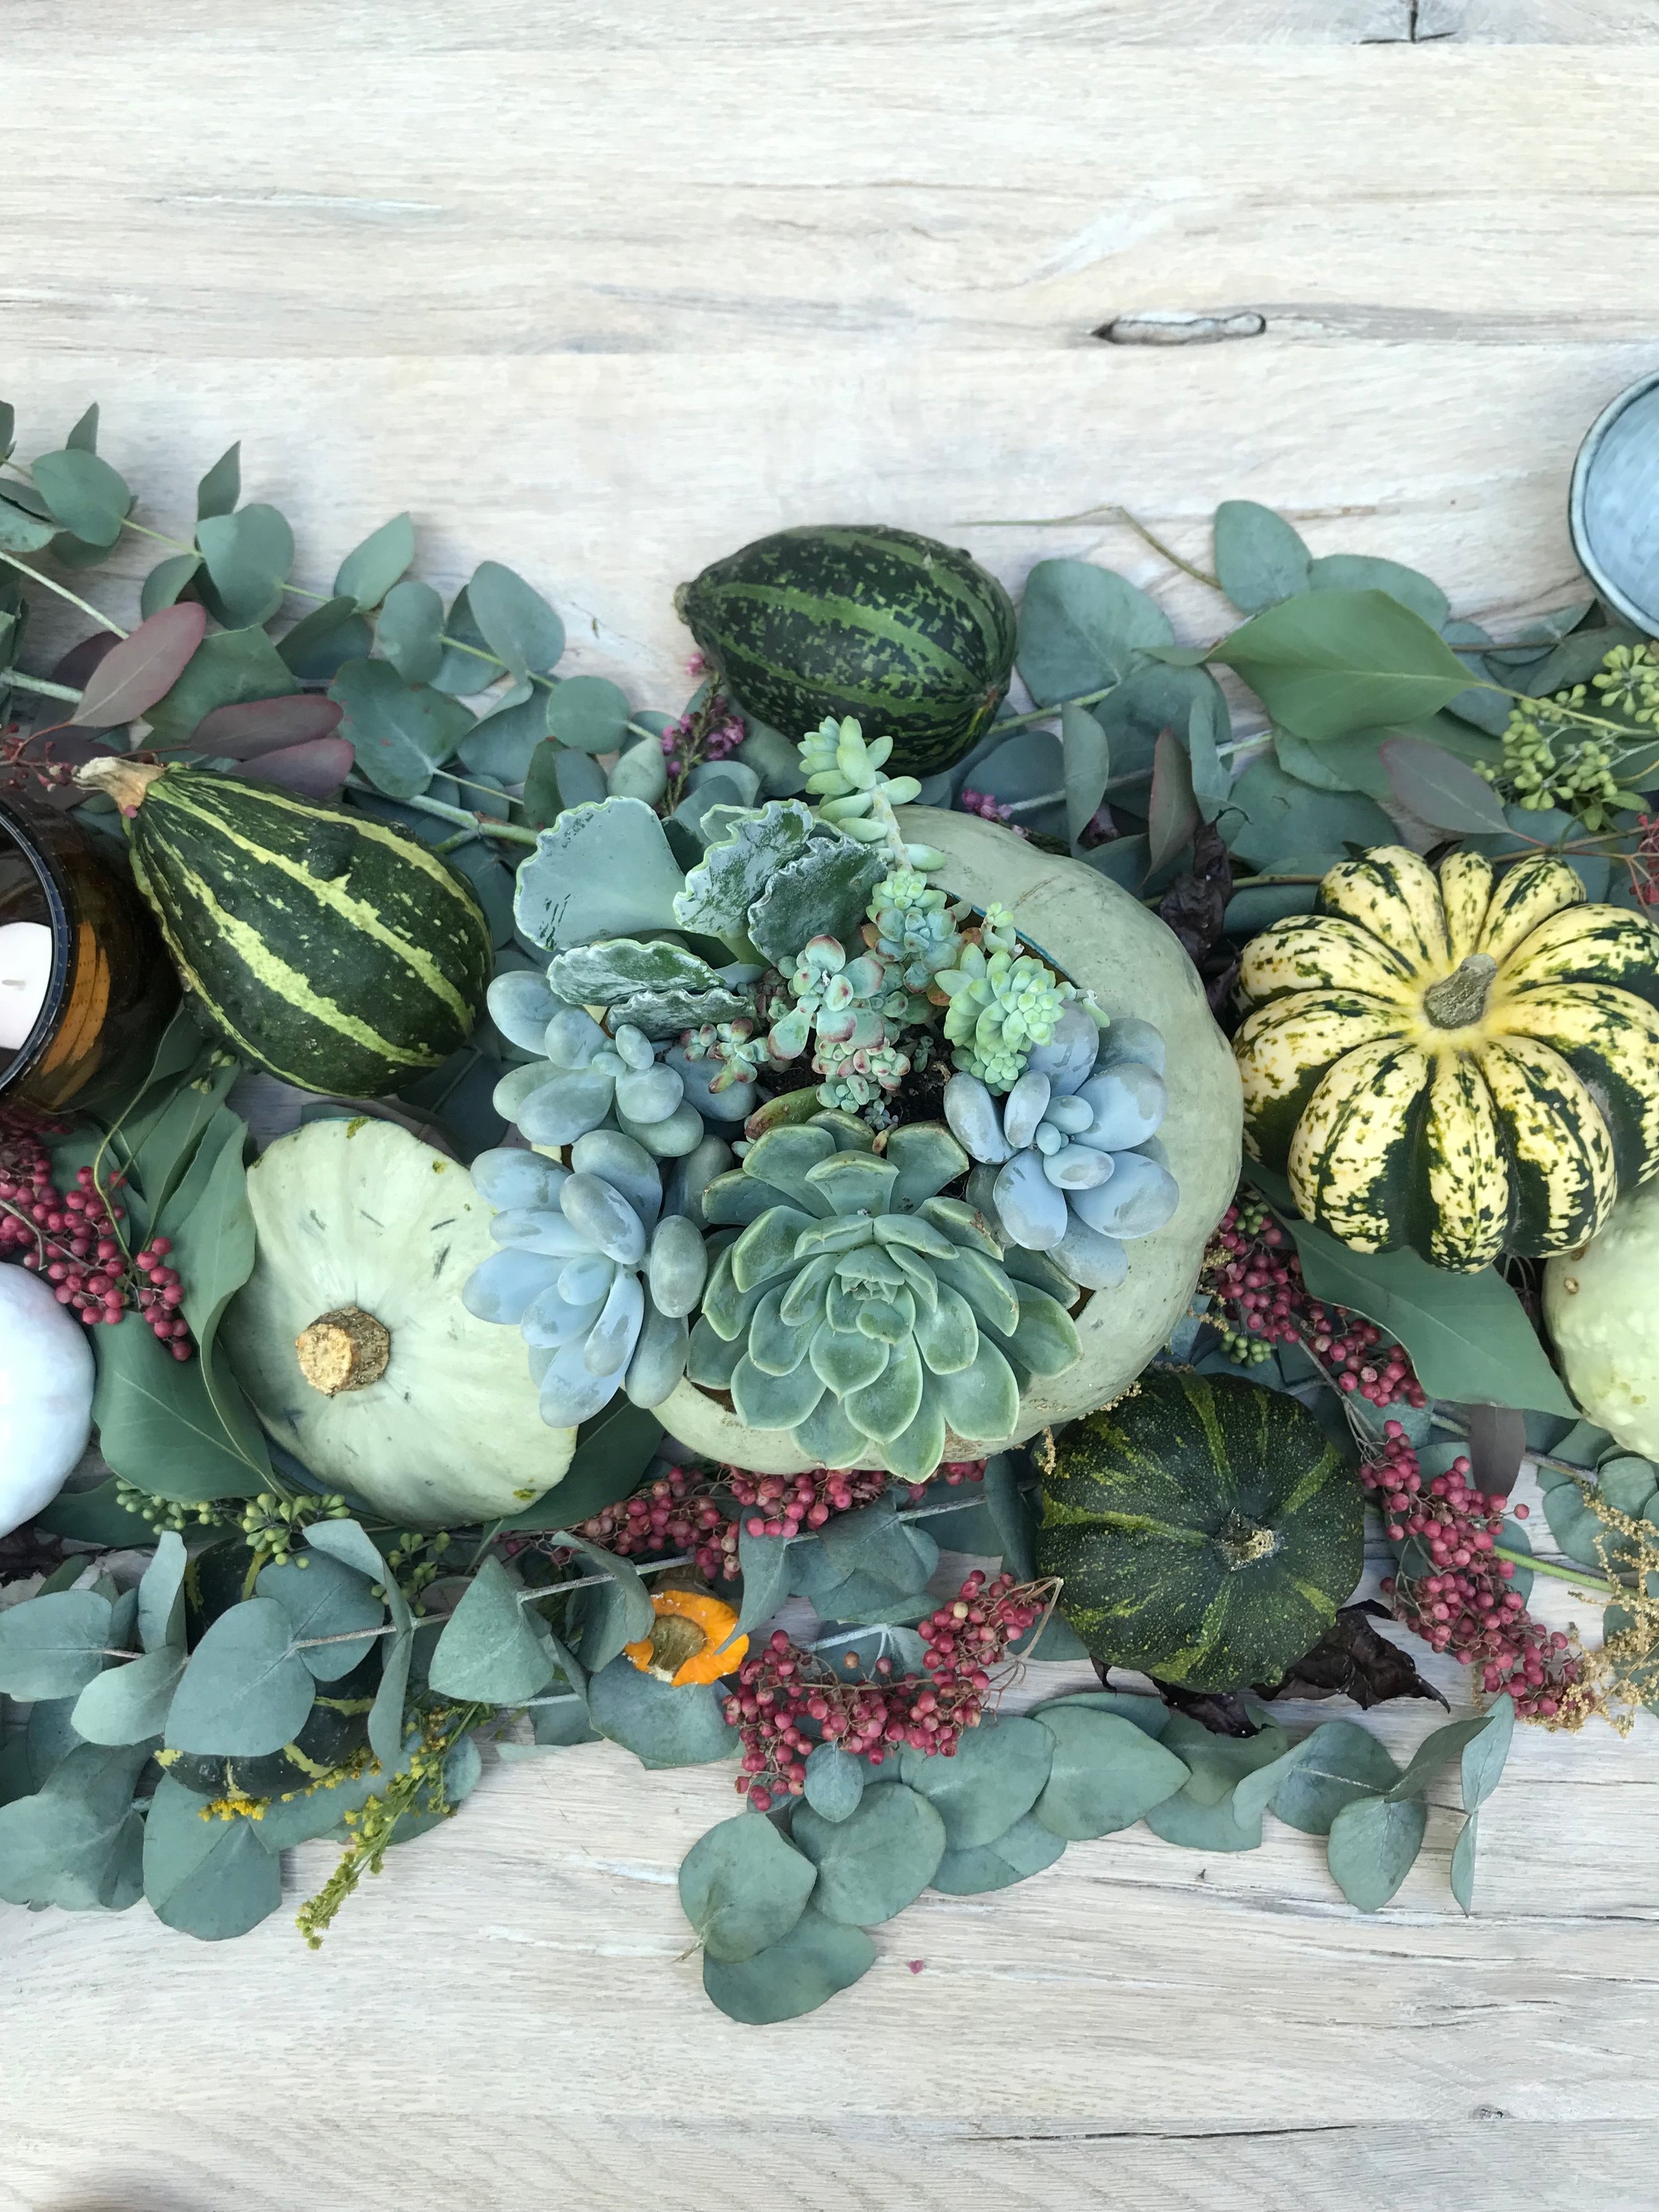
New! This serving board is great to serve cheese, charcuterie and other goodies. We love the handmade nature and character that it brings to the table.
Colour: Natural
Material: Mango Wood
Dimensions: Diameter 45cm x Height 9 cm
Handwash only
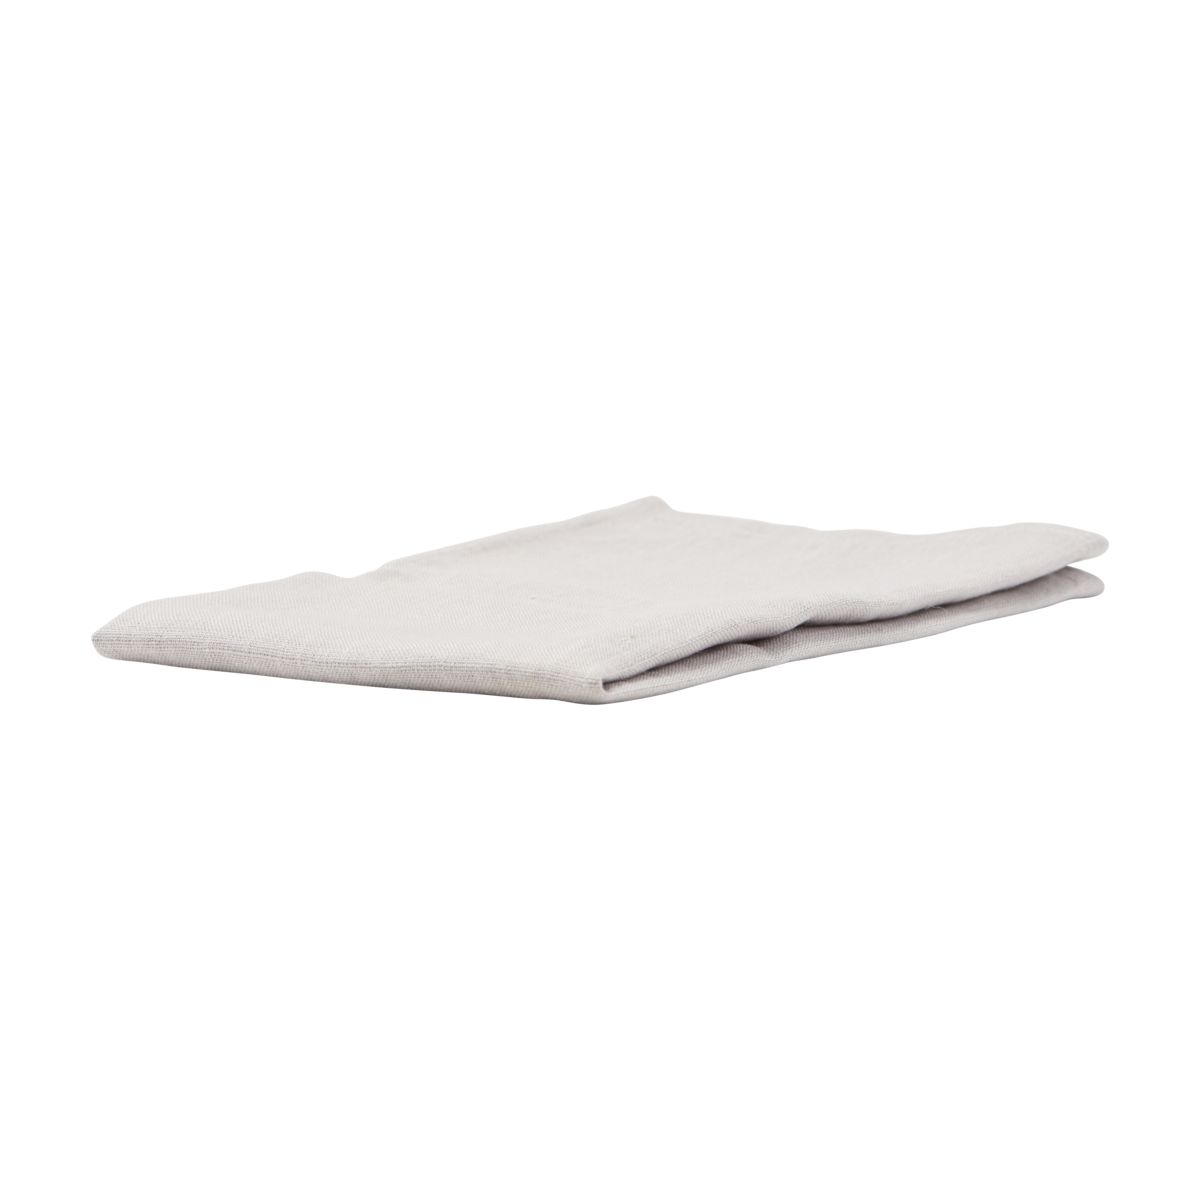
New! Decorate your table with these linen napkins, the perfect accessory to any table setting.
Dimensions: Width 45 cm x Length 45 cm
Set of 4 in each pack.

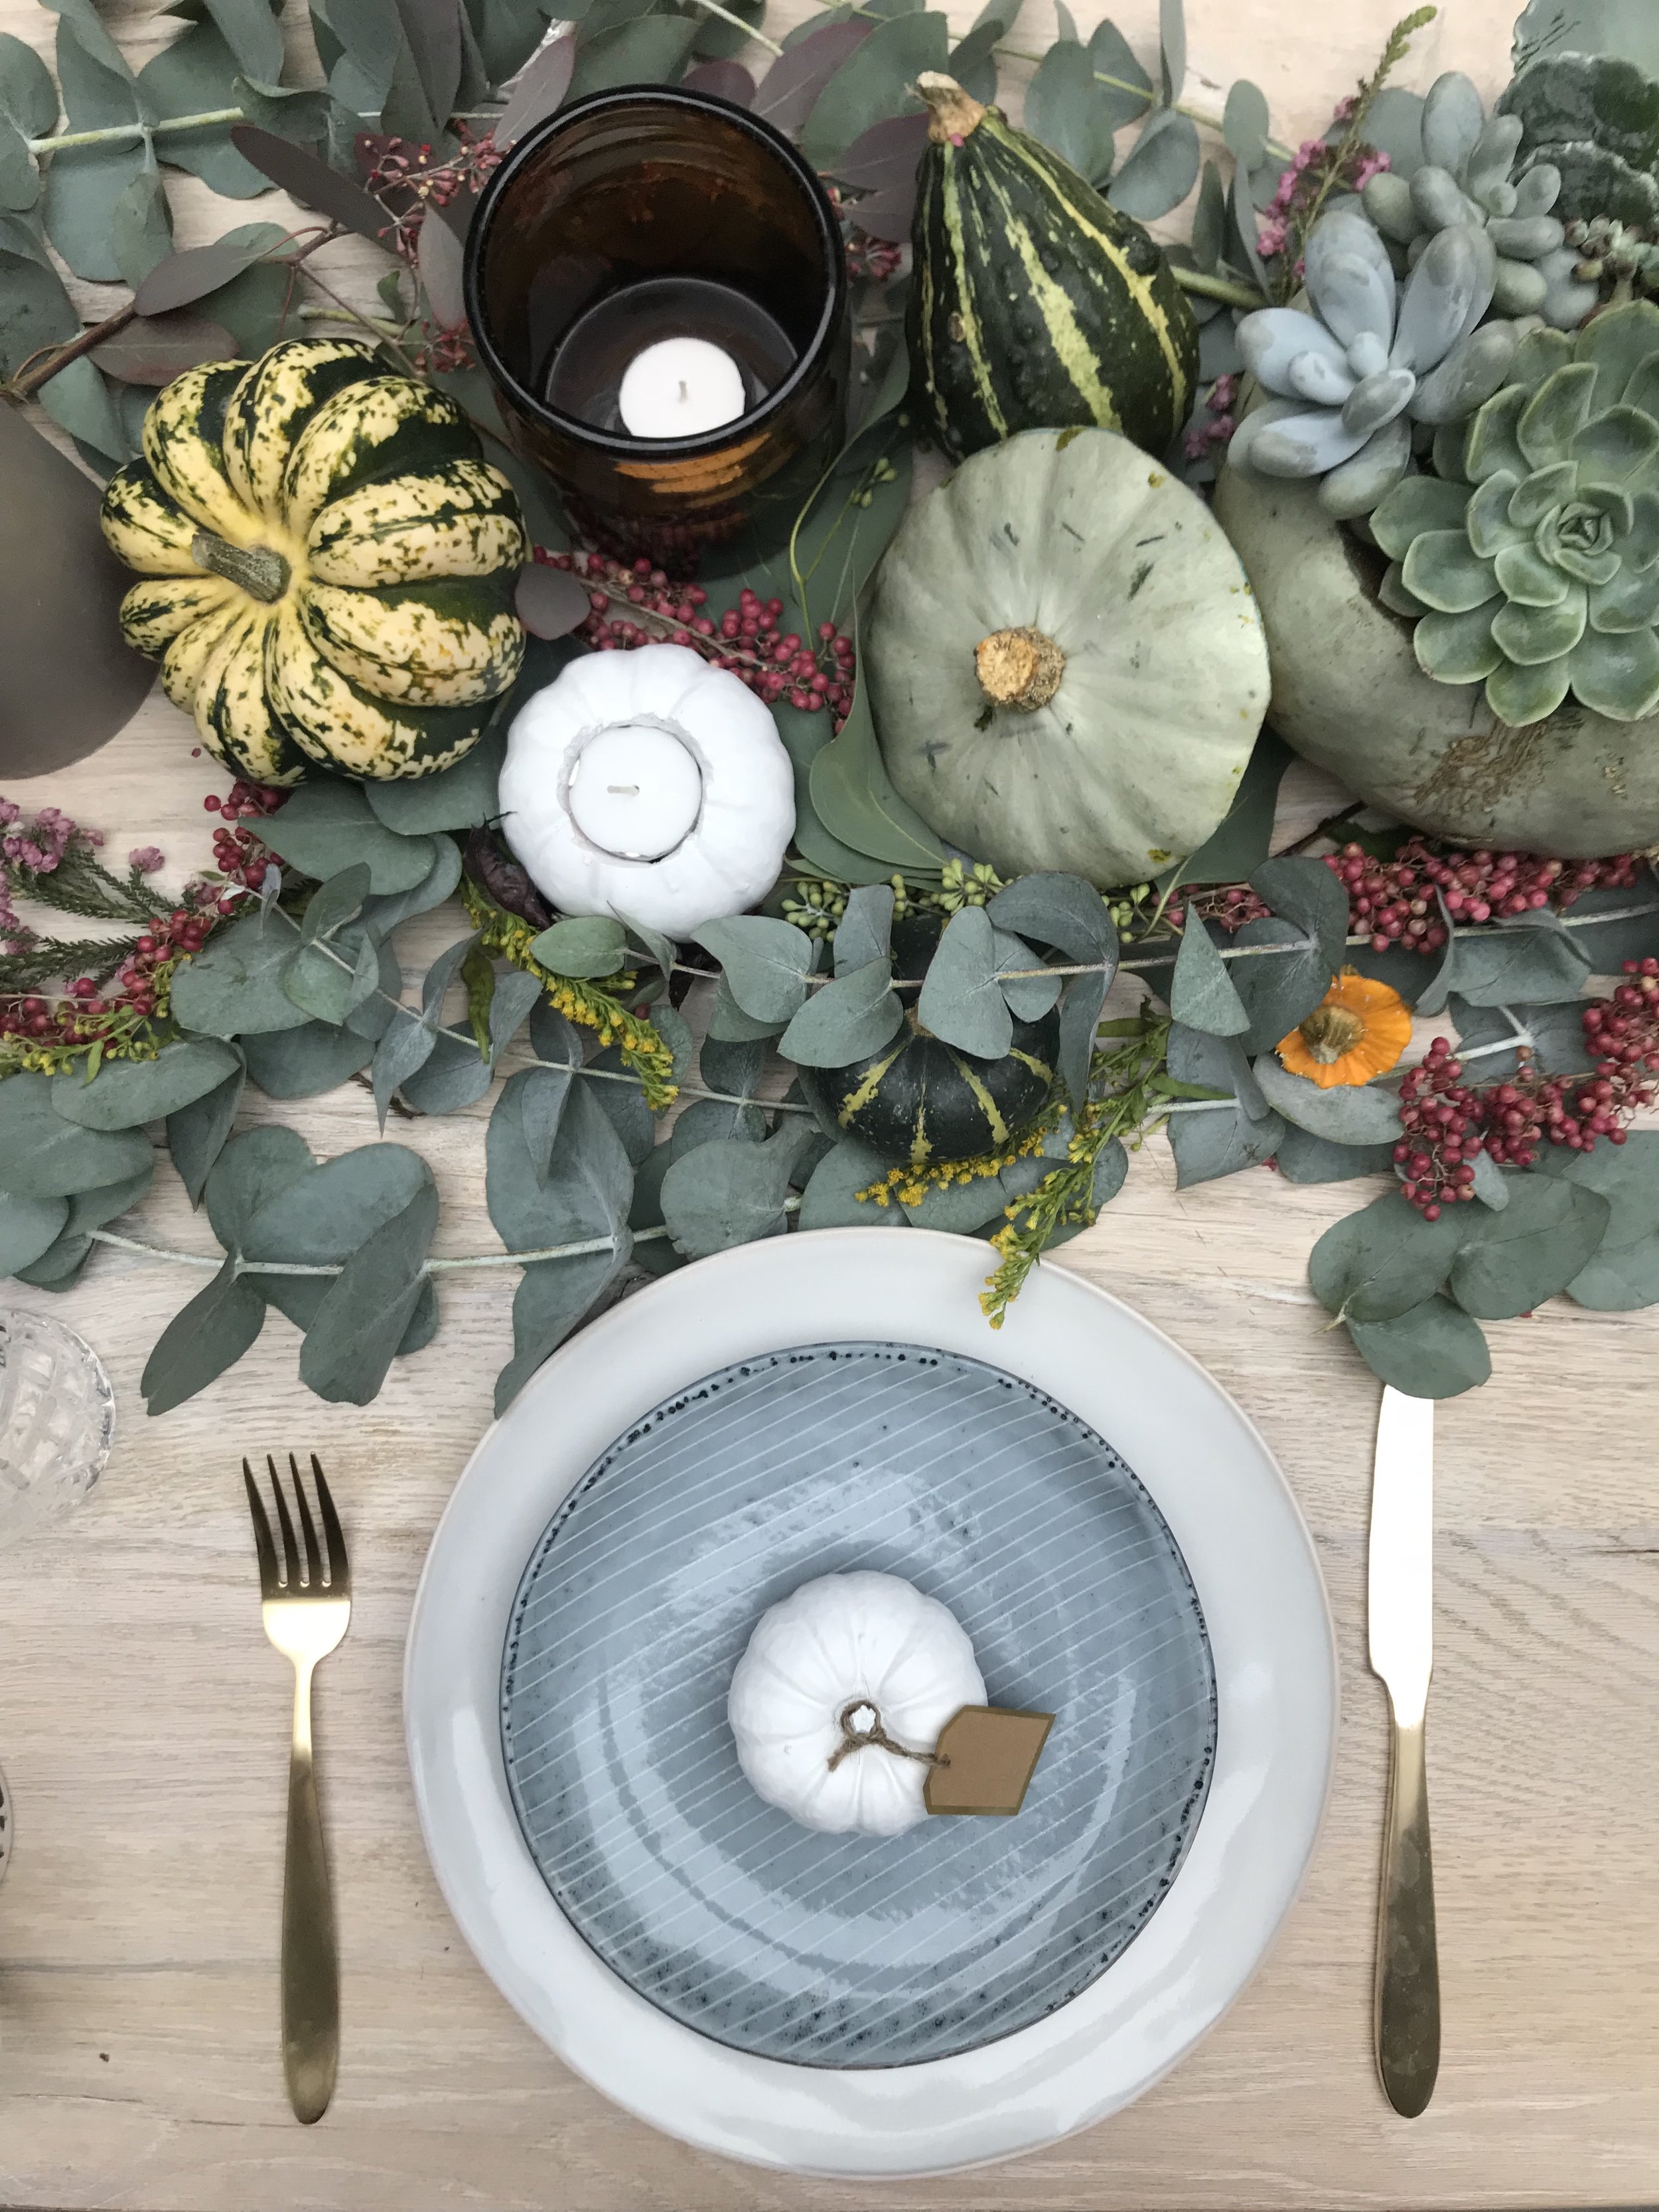
New! I love how a tablecloth can instantly transform the look of a table. It’s always the small details that make a big difference I think. Use contrasting napkins and tonal dinnerware when to set the look off.
Colour: Light Grey
Material 100% linen
Dimensions: Length 250 cm x Width 140 cm
Washing instructions : Normal wash 60 degrees, No bleach product may be used - The garment is not colourfast or structurally able to withstand any bleach. Tumble dry. Iron, steam or dry with high heat.

New! This artisan dinner plate in mushroom is super gorgeous and looks great when mixed with our pink side plates.
Handmade with love and care. Due to the handmade nature of our creations, each item is truly unique and no two will ever be identical. Any imperfections should be celebrated as a testament to the hard work of our talented artisans. We believe this adds to their beauty and charm.
Colour: Blue/Grey
Material: Clay Ceramic
Dimensions: 28cm x 2cm
Microwave, oven and dishwasher safe